
Disclosure: This post contains affiliate links and I receive a commission if you visit a link and buy something on my recommendation. Purchasing via an affiliate link doesn’t cost you any extra, and I only recommend products and services I trust. All opinions are my own. For more details see my Disclosure Policy and Privacy Policy.
A while back, I found this chair on the side of the road on one of my dog walks. That’s where I usually see stuff that I could use, then when I get back home, I get my car, ride back and pick it up. I have a blog post called “Ain’t Too Proud to Dumpster Dive” where I show you a few items I have found that I’m attempting to give a makeover to and this is the third item. The first one was a waterlogged ottoman that had been out in the rain for days and the second one was an old file cabinet with no top.
If you sew already and are a DIY’er, you really don’t need any special supplies for this but I do recommend a couple of items that would make your life a whole lot easier:
This air compressor makes stapling, nailing, etc. so much faster and efficient. I highly recommend getting one of these.

This is the exact pneumatic stapler I have and I am in love with it. If you do any upholstering, this is a must have.
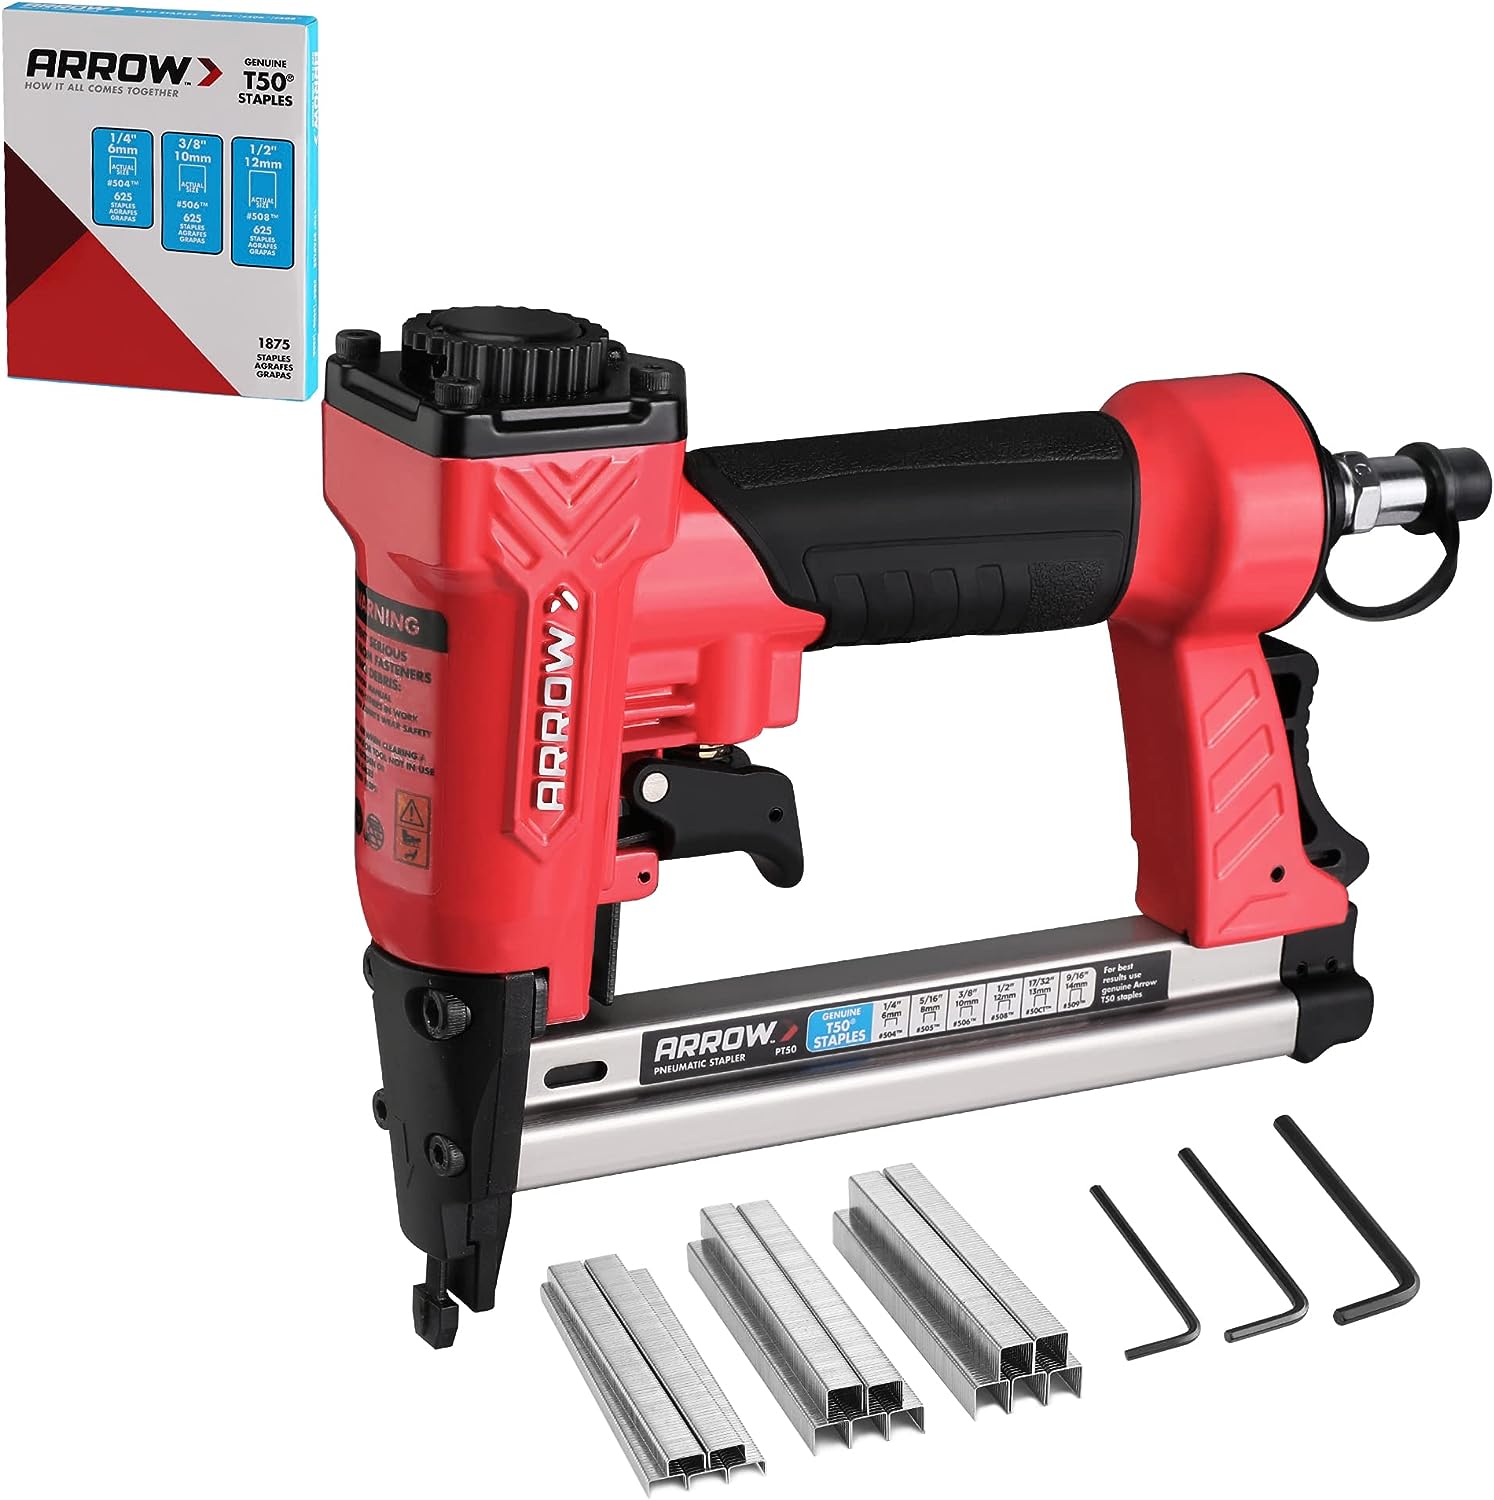
Pneumatic Staple Gun w/Staples
A lot of people use a zipper foot for making welting, but I suggest you get a foot made specifically for welting. There’s a groove on the underside that fits the size of your welting exactly.

Welting Presser Foot (3 sizes)
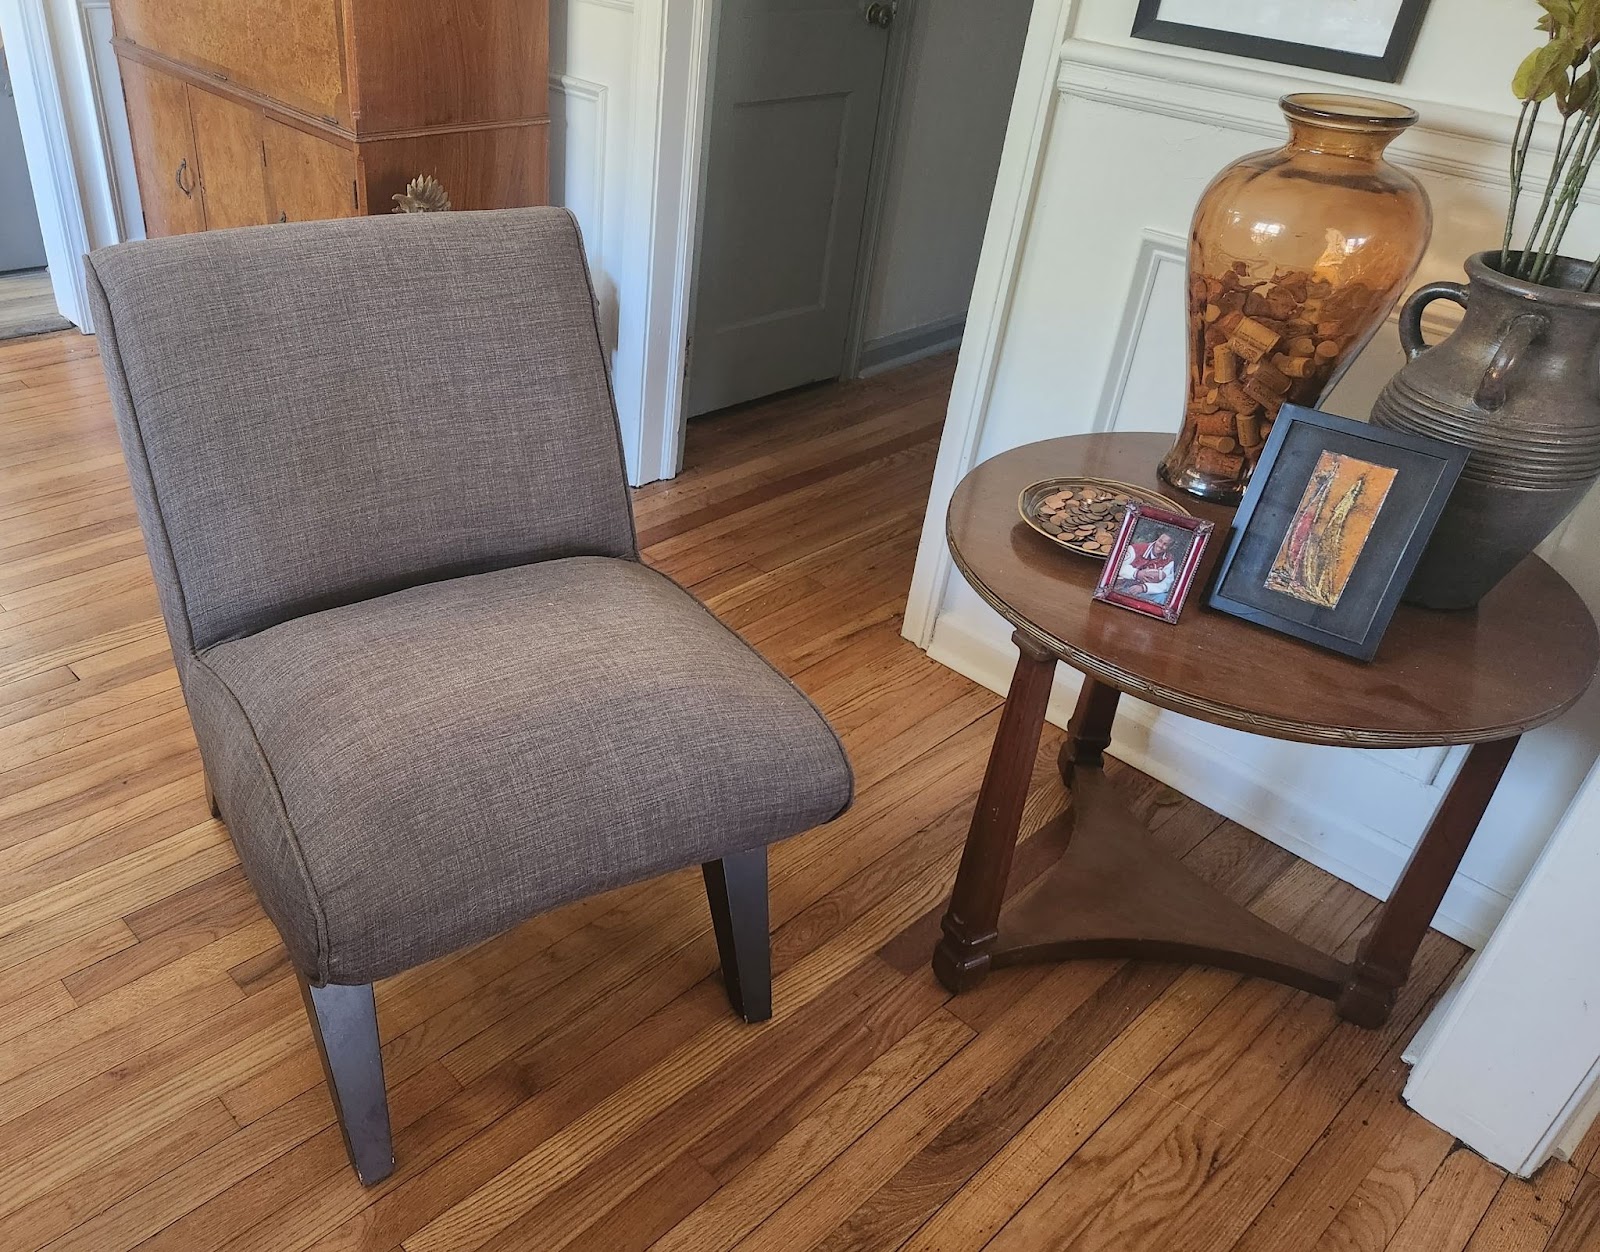
So here’s the chair after I dragged it into my house. You really can’t tell how filthy it was from this picture and the brown fabric, but it was nasty.
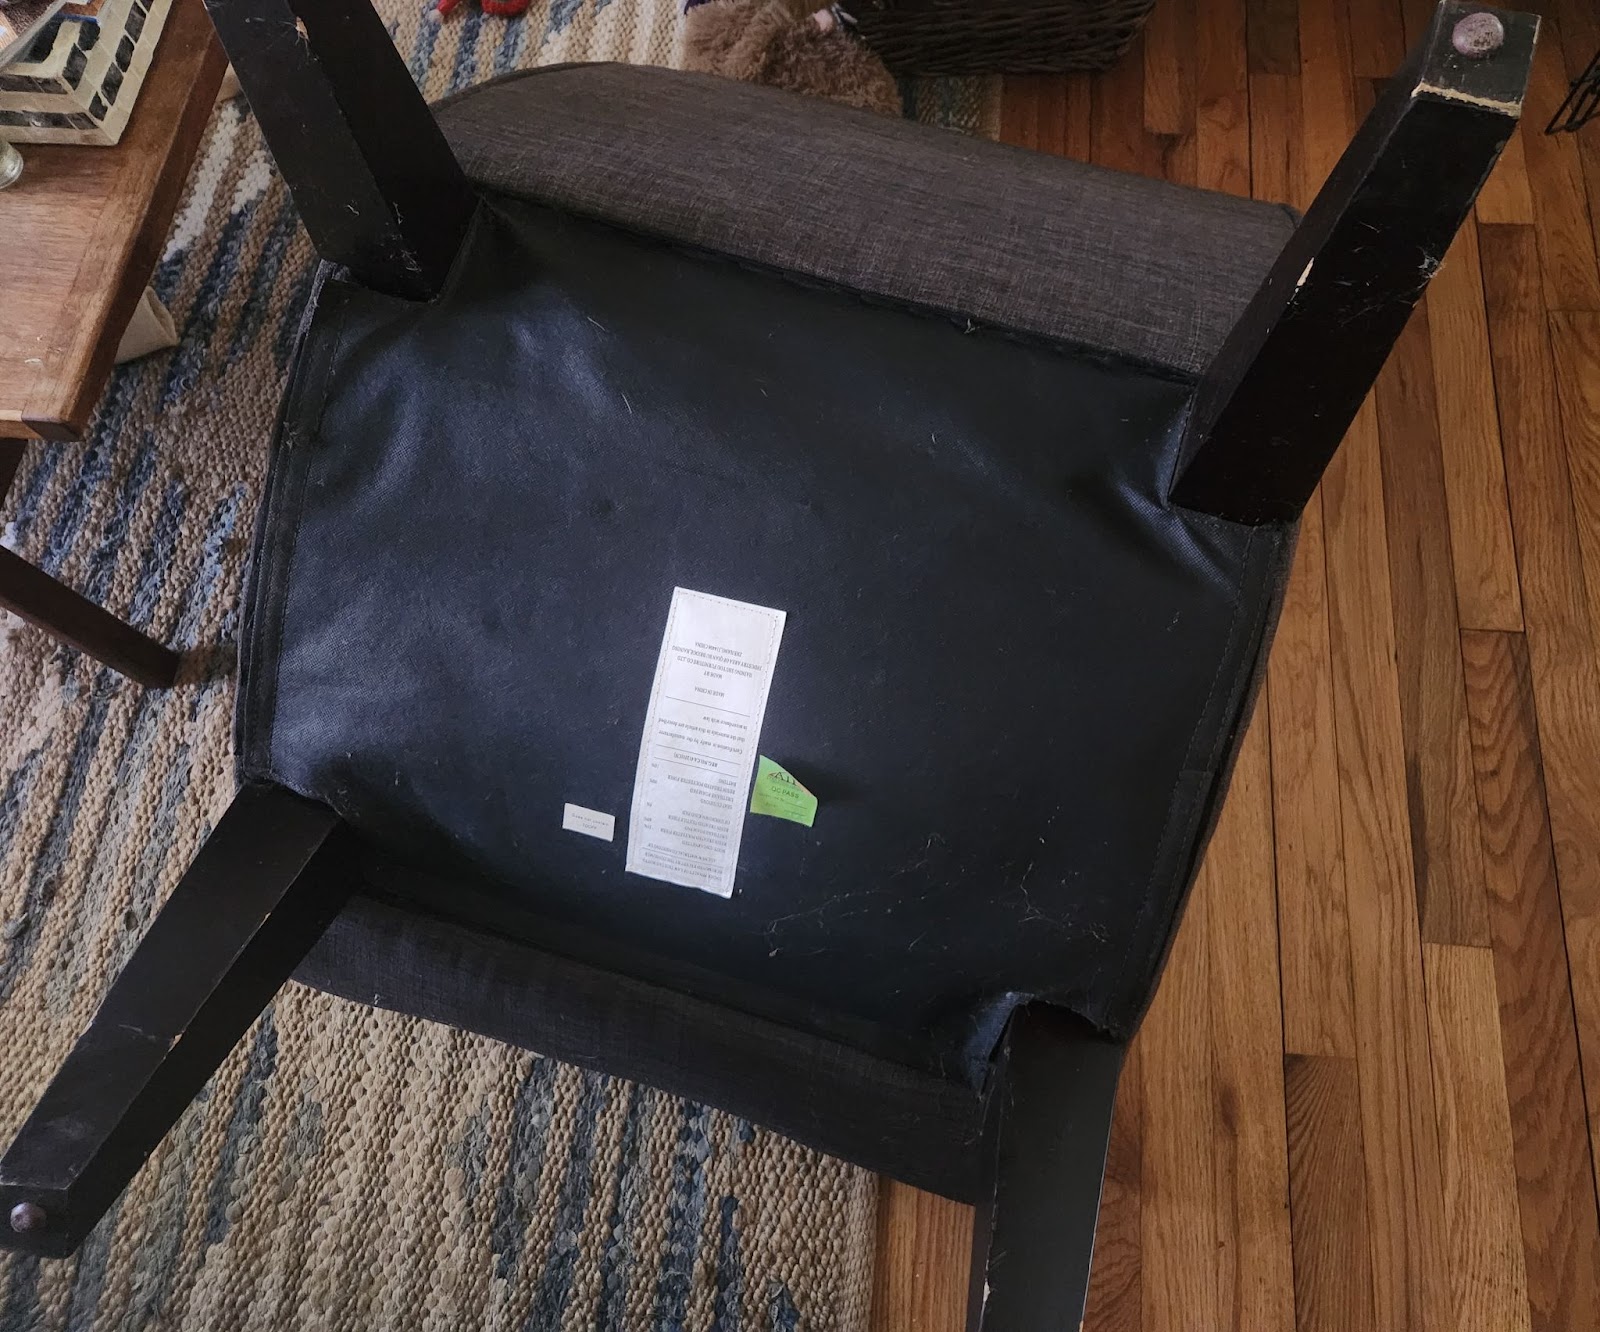
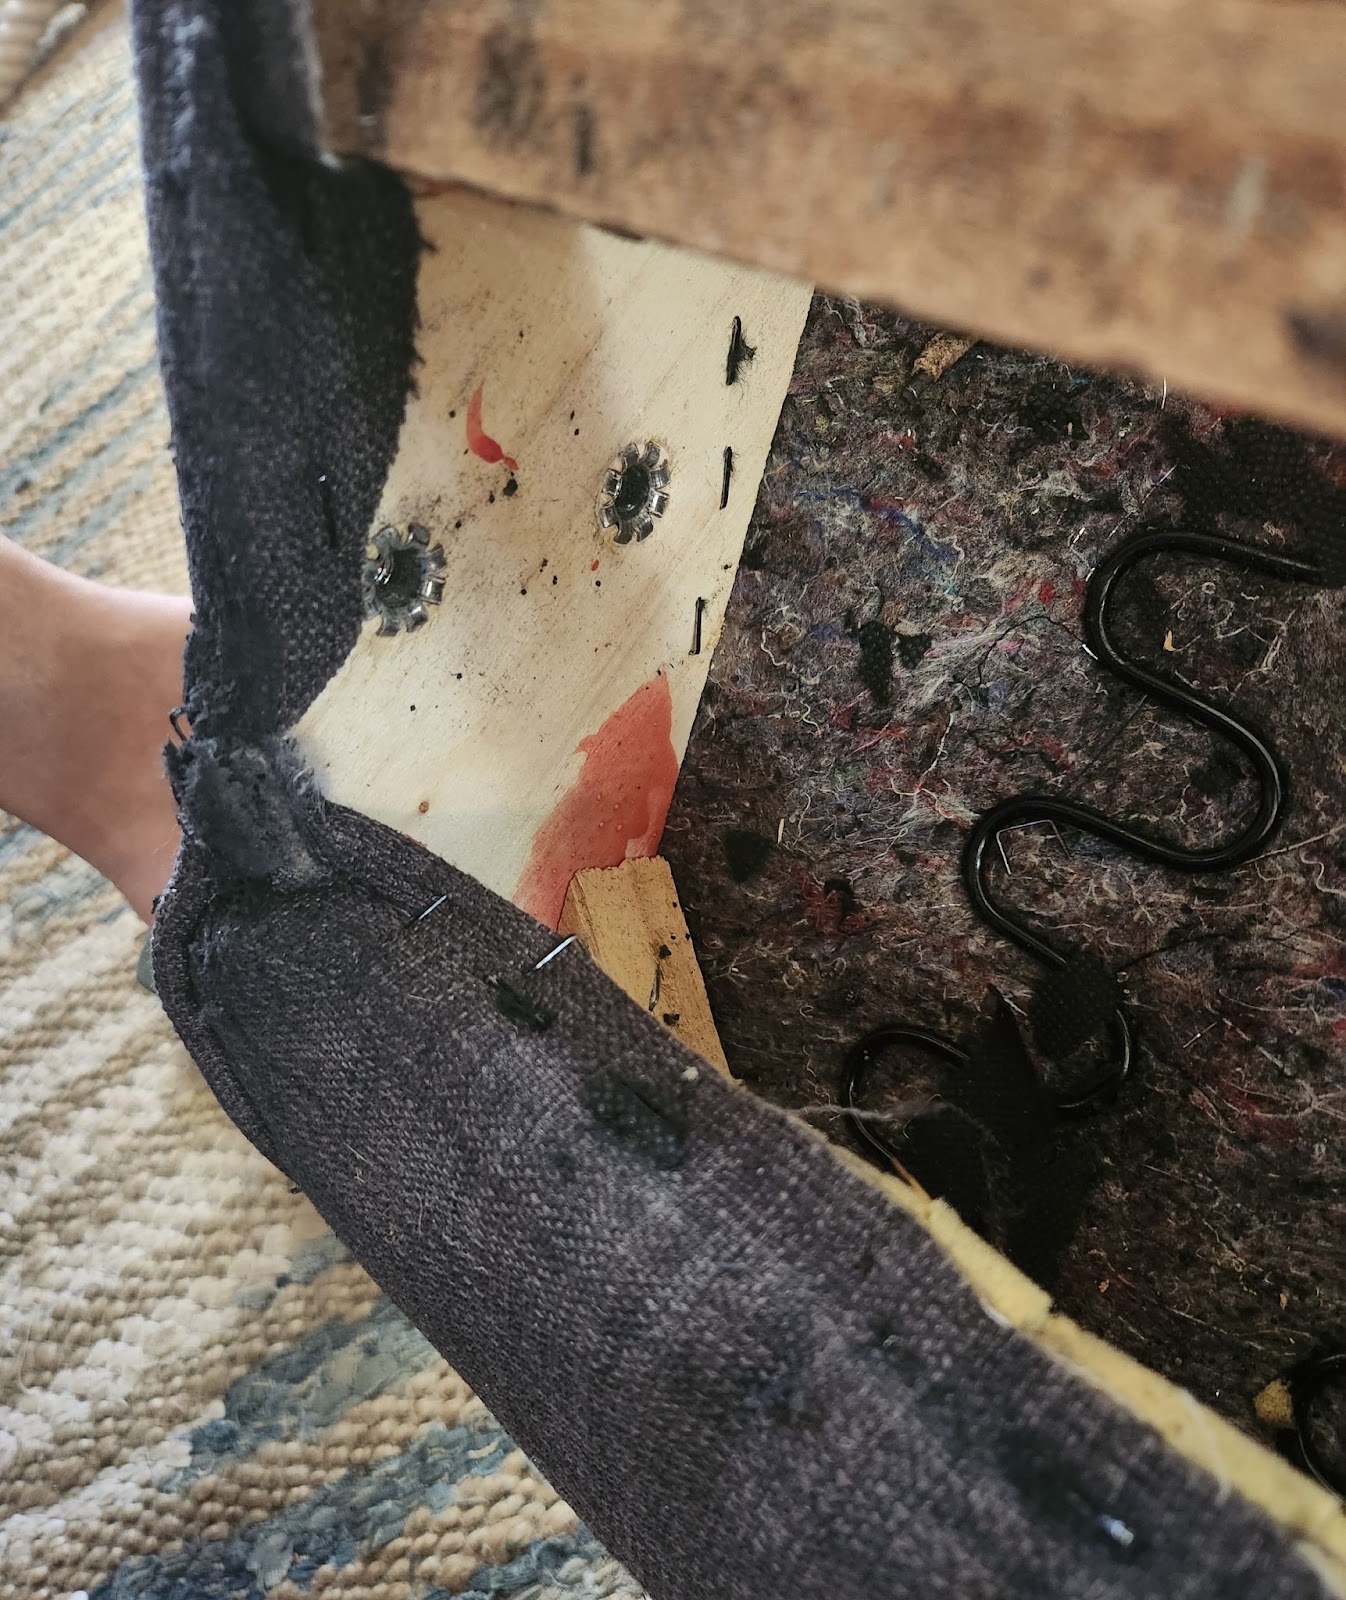
I turned it over so I could look at the bottom and make sure the dust cover was in good condition and I could use it again.
I started taking the staples out with my staple remover one by one. This is the part that I hate the most.
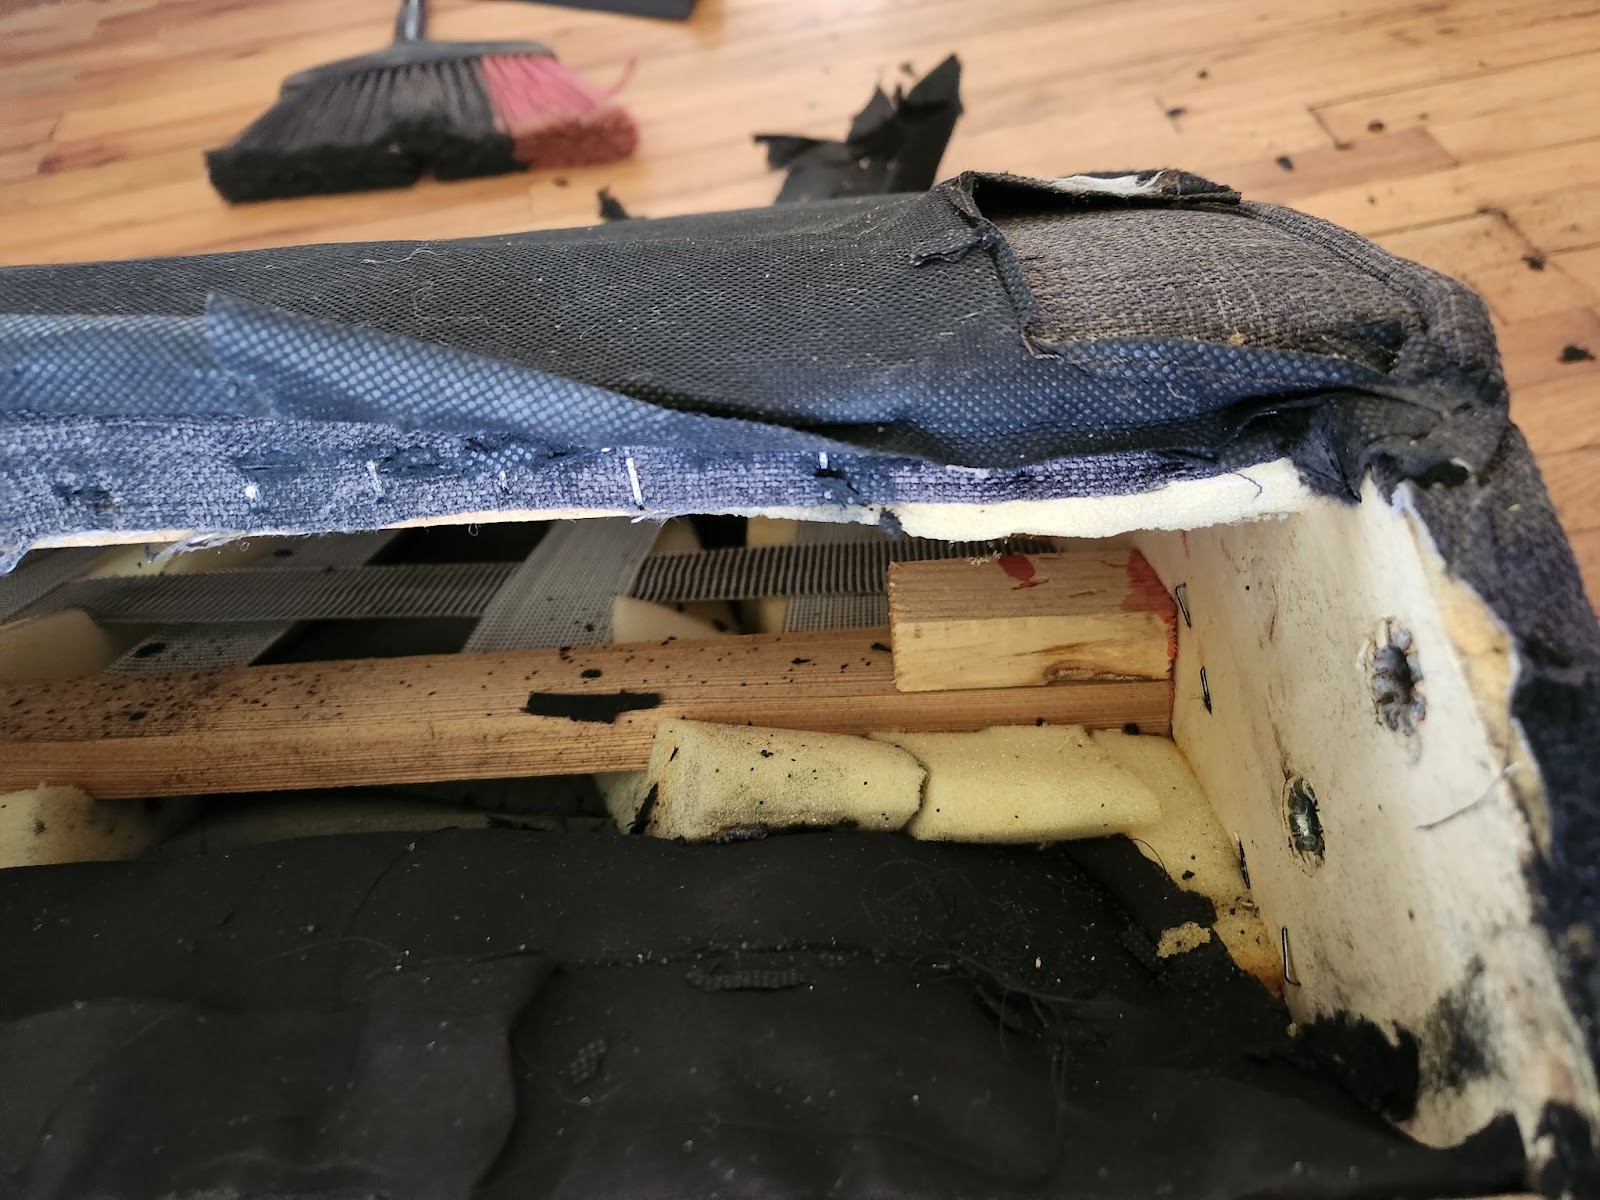
It was filthy on the inside also, so I vacuumed it out to get all of the loose bits out of it.
Next, I wanted to start getting the fabric off using a seam ripper.
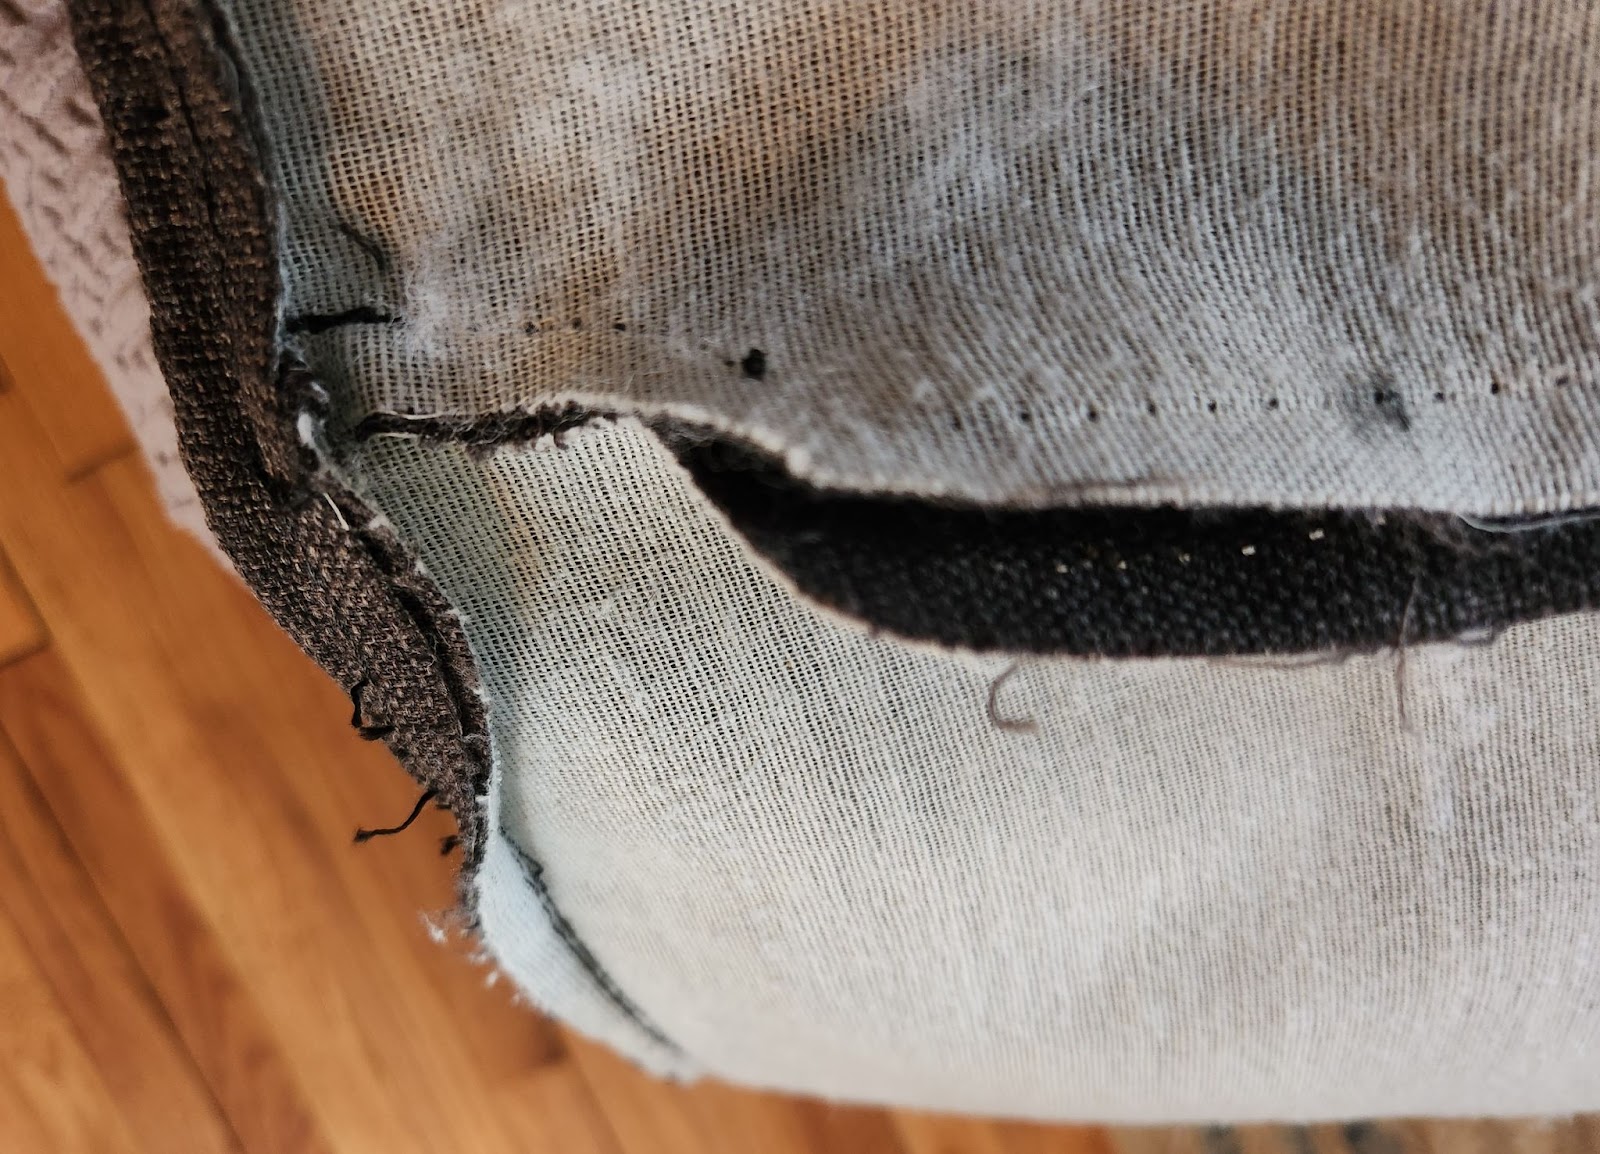
I got the largest piece off and I’m going to use this as a pattern. The dark fabric in the middle is so you can push it through the back of the seat cushion and pull it tight.

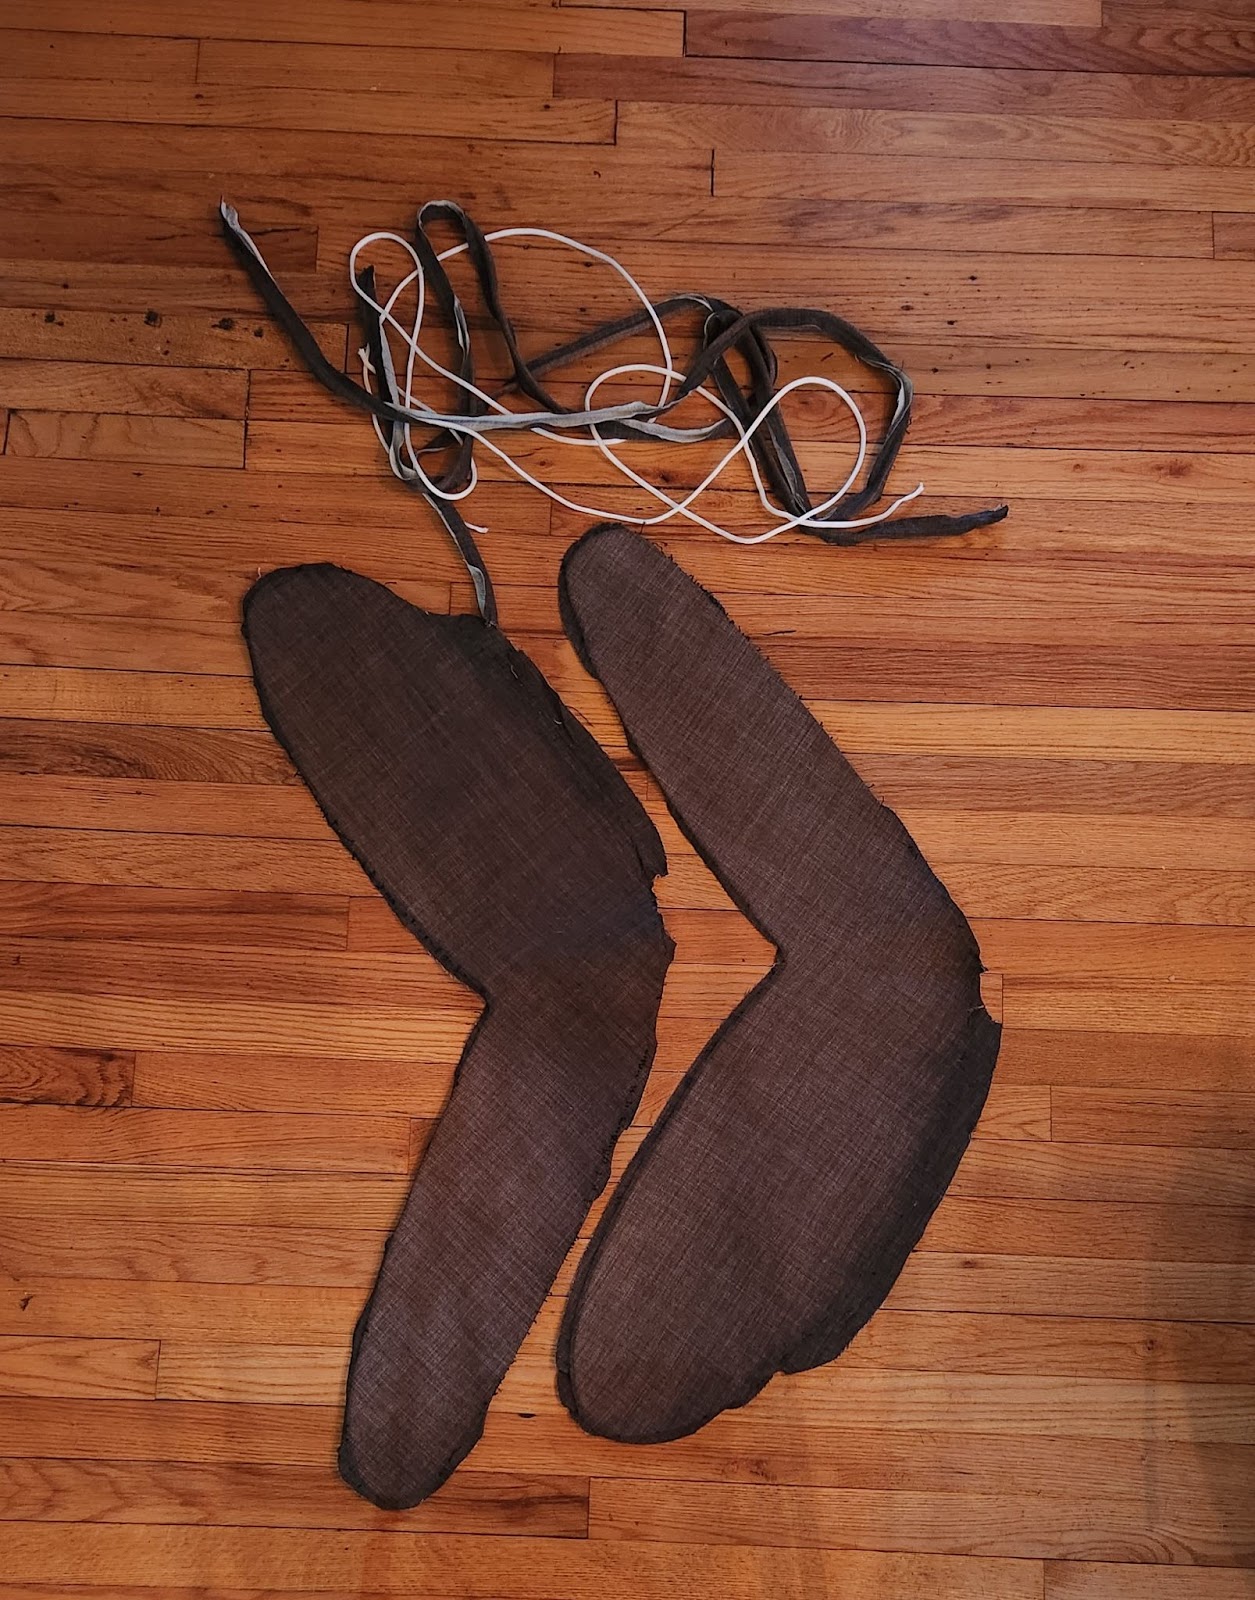
Here are the side pieces and the welting. I’m going to use the white welting with my new fabric.
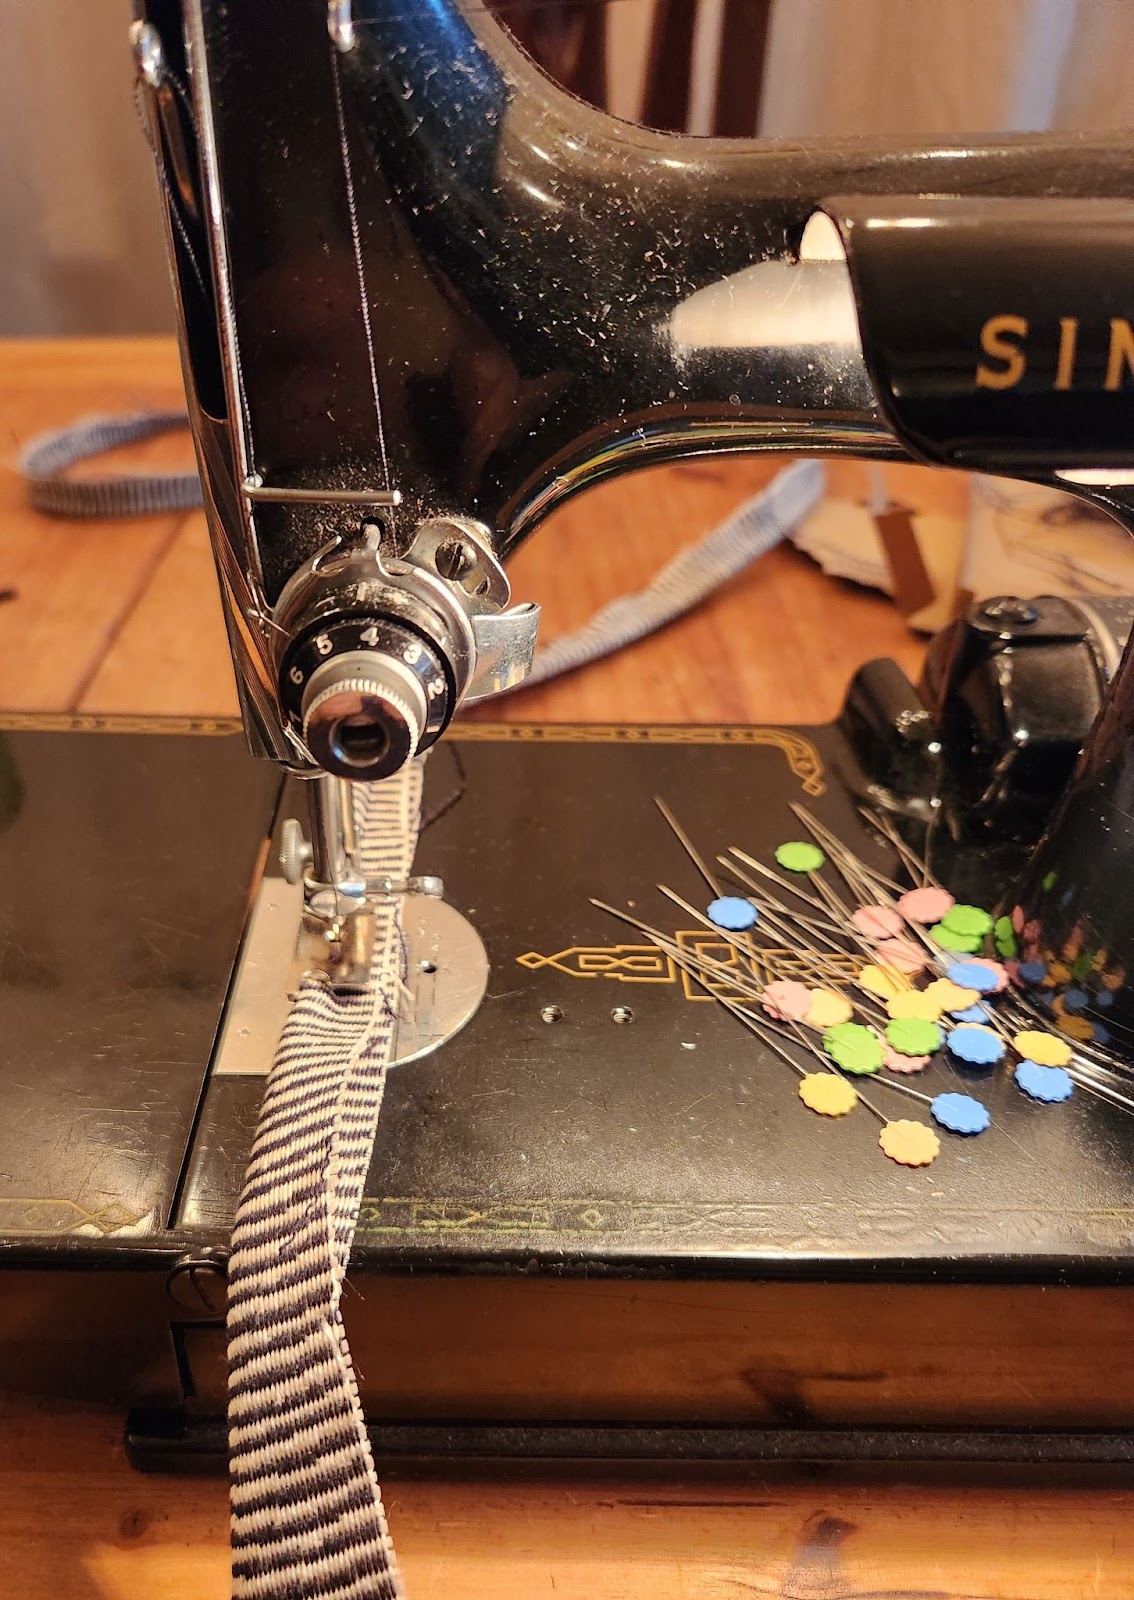
Next I laid out my old pieces onto my new fabric, good sides together, pinned then cut them out. I also cut out strips of fabric for the welting. My new fabric is a chic black and white with abstract lines. You can’t really tell in this picture.

Using the old welting. I made new welting with my new black and white fabric. I used a welt foot on my sewing machine.
Here’s the two lines of welting after I finished.

Now it was time to sew it all together. I started with the front and back piece and put the dark fabric in between like it was on the old fabric. Then I sewed them together. Then I took the welting and sewed it to both sides. After that piece was done I added the side pieces.

I added some new batting to the seat cushion since it was really old and wasn’t fluffy enough for me.
Now was the moment I’d been waiting for. I pulled the back piece on slowly because it was tight, then the seat cushion. After pushing and pulling, I made sure the welting was where I wanted it and then I got out my compressor with my staple gun attached.
This is the fun part. Just pull the fabric taut and start stapling on the underside where the wood is.

I really wanted wood legs instead of the black ones, but I decided to try something I’d seen on Pinterest where the legs are upholstered too. I cut out rectangular pieces of fabric with batting and used my glue gun and staple gun to wrap the fabric around each leg.

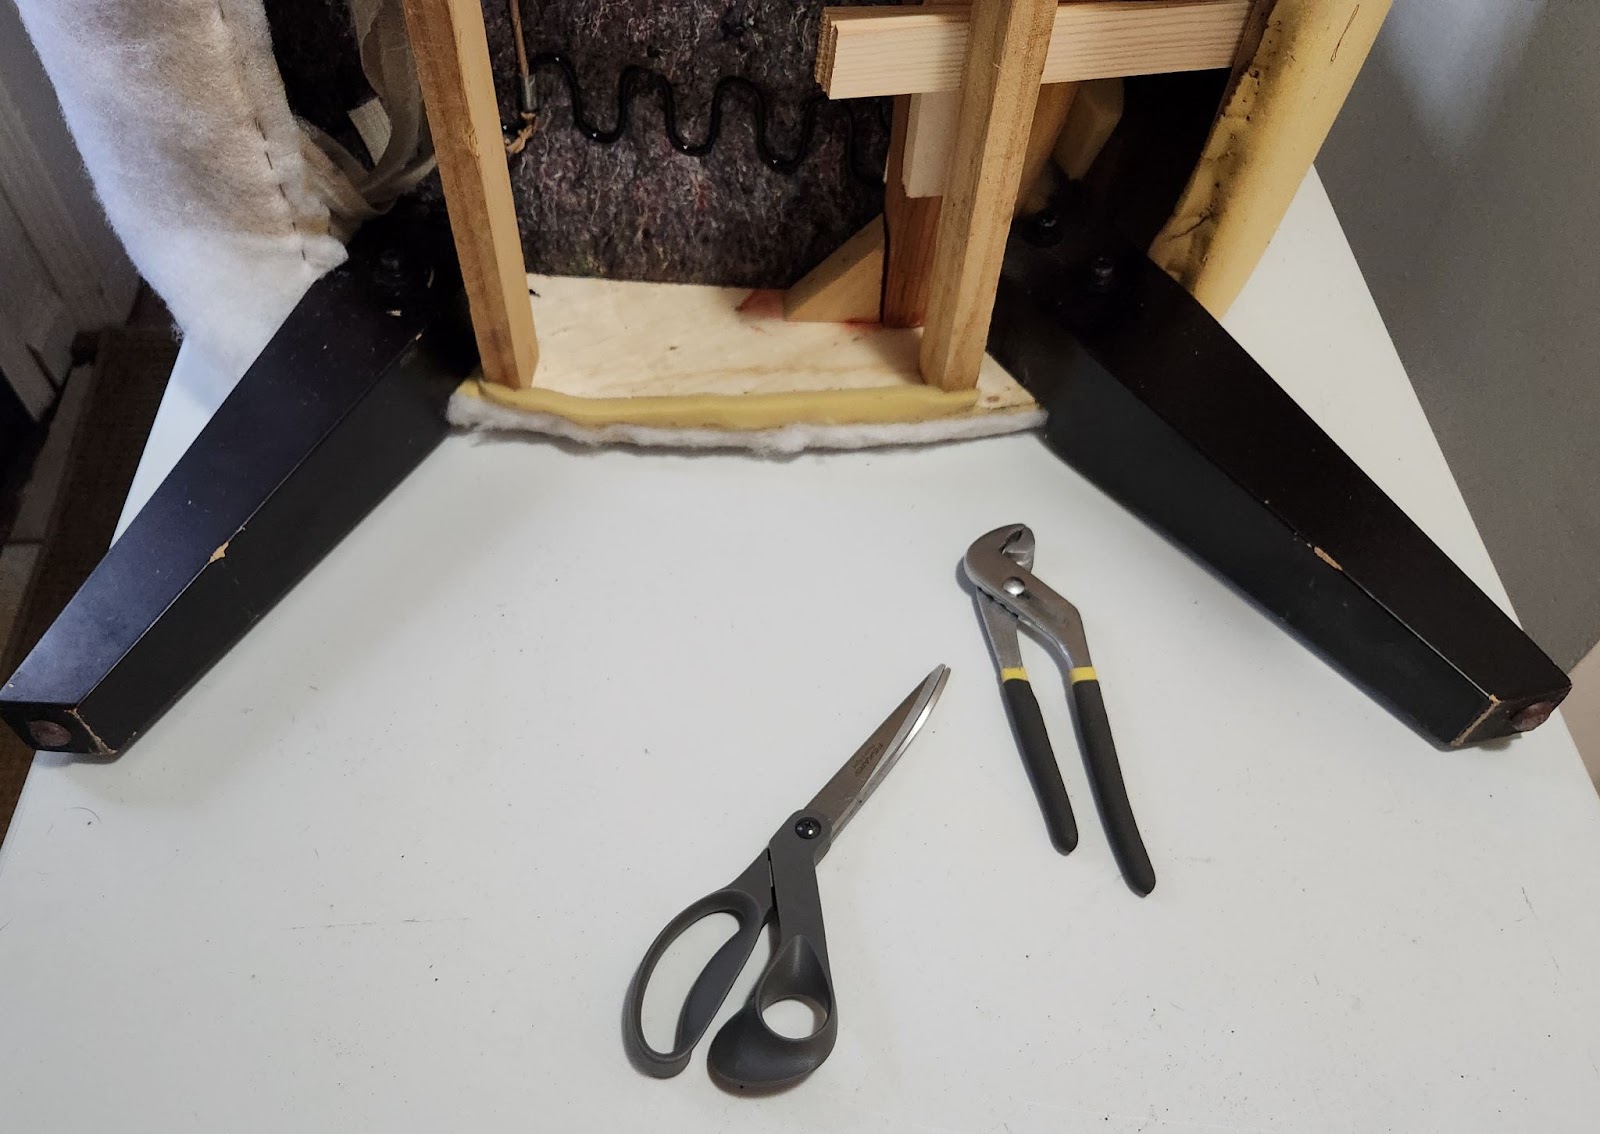
After that, it was time to put the dust cover back on the underside and there you have it. I love this chair and I’m so proud of myself for finally tackling it. Not sure what that wiggly bit is, but I took several pictures and it came out the same way. Must be my camera. But you get the gist, right?

Let me know in the comments what you think and if you’ve ever tried reupholstering anything.
See ya next time.

0 Comments